Databending 388: B͇͢r̝͙͡ȩ̯̬̳͉a͉k̸ ͏̳̩t̟̰̠h̡̟̖̮̗e̴͖ ̴͇̹̦f̘̕ơ͕̬̤r͏̖m͖̙̟͡a͚̺̗͕͔̲t̮̫̙͢t̷̺̪̦̘̳͕̰í̙͔n̻͟g̴̠̻̣̥͔̦̣
Published 2019-02-11 on MindsI recommend my previous blog for a basic introduction.
This is a supplementary tutorial about a few specific techniques, hence I won't be showing how to compose an entire image, but alter components as examples. 'Databending' (aka glitching) is a general term that applies to many forms of both elementary and advanced manipulation at the data level, all the way up to burning and warping VHS tapes. Here I'll be explaining the easiest but still-effective forms I've found with purely digital processing. If you're looking for some examples first, check my profile gallery.
1. Overview
As a matter of convenience, I'm going to be using PhotoShopCC2015 and the PS .raw format for creating and opening files, but any other program that supports headerless formats can work. For audio processing, I'll be using GoldWave (free), and for hexadecimal editing HxD (free). These are specifically because of the convenience involved in saving and opening files, so that it's easier to experiment.

2. RAW rules
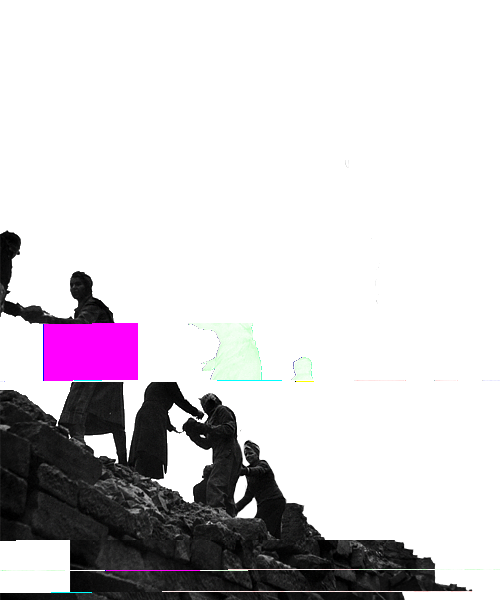
First things first: prepare your materials. For illustration purposes, I seperated the two parts of the original image into sections with transparent backgrounds: the steeple, and the wall/people. You can also use flat images, but results may differ. Export your files to PNGs and take note of their dimensions; this will be important later. Now re-open each PNG in PS. Go to File>Save As>Save as type>RAW; in the options dialogue, make sure the header is 0 and we're saving transparency. I generally use interleaved layers for consistency. Now we have our files.

Close your tabs, and open the RAW files. In the open dialogue, you want to input your dimensions, use a count of 4, and check the last channel is transparency. Note that if you get a "specified image is larger than file" error with an edited RAW, usually knocking off 1 pixel from either dimension will work; databending is a messy business. While we have a RAW open as a tab, if we double-click on the file to open it PS will give us the option to update it without specifying these numbers again, which saves a lot of time.
3. Filtering
Open up GoldWave, and the first RAW you want to tweak. The audio format I tend to fall back on is PCM24 little endian mono (you can set defaults for file types under Options>File formats>Undetectable types), but you should experiment if you're not getting great results. Now the first thing you want to do is check you have the whole waveform selected (Ctrl+A) and copy it. Now you'll have to be careful with the clipboard, but if you do this right it'll save a lot of time deleting and overwriting RAWs (I learned this the hard way).
Here's the fancy part. Most audio filters (effects) either won't have a noticeable effect, or they'll make your image a scramble of noise. Trial-and-error will teach you which do what, but I'll outline a few I tend to fall back on:
-Filter>Pop-click: This produces a nice staggering and wiping effect; tweak the tolerance until it works for your image.
-Offset: With small values, this can shift your entire image in a consistent way.
-Echo: Using a very short delay can stagger some channels in an interesting way.
-Reverb: Similar to above, but more unstable. Doesn't work for some images.
-Filter>ParametricEQ>1khzNotch: Adds a lot of noise, but is still suggestive of the original contours.
-Compressor>Reduce peaks: Adds noise without touching transparent portions.
-Mechanize: Chops up your image in various ways.
-Filter>Noise reduction: Funnily enough adds mild amounts of noise.
-Flanger>Through the skull: Gives you a ghost with a sine distortion.
-Dynamics>Blare: A sort of infrared effect with colorful edges.
-Filter>Smooth: Noise and bars.
-Volume>Auto gain: Color blocks.
-Volume>Shape volume: Similar to above but more flexible.
Note your results may vary.

Once you've applied your filter (I recommend starting out with one at a time until you get a better idea of what each will look like), just save (Ctrl+S). If it prompts you, overwrite the existing file. Then open it in PS (update). If you like the result, quick-export it with a proper name. Now switch back to GoldWave, and press delete and then paste (Ctrl+V). Now you have the original waveform, and can edit from scratch. If you break your files at some point, just re-create them from the original PNG.
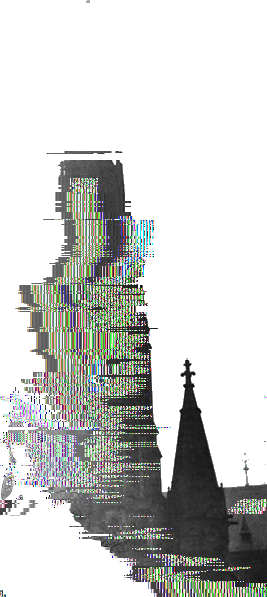
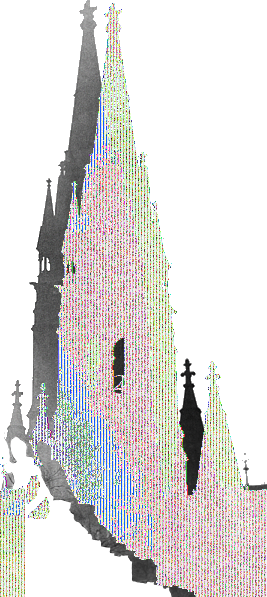
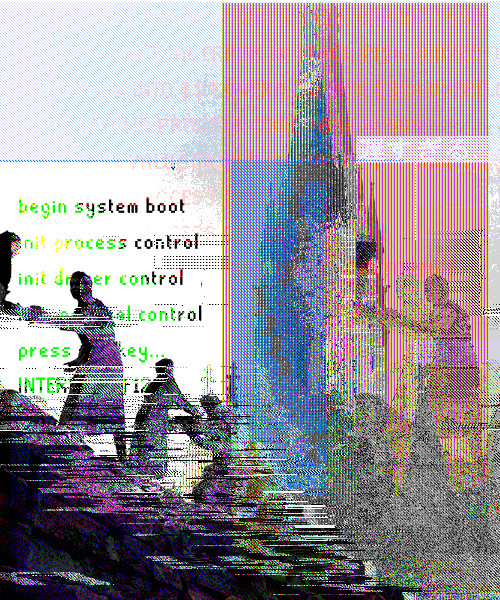
Repeat until you've got enough material. Here are a few examples:
4. Hard editing
Instead of using complex data modifications like audio filters, we can also manually edit the individual data values through a text-editor; I use HxD for hex values, but with programs like Notepad++ you can do the same. Note that for any image of significant size, there is a *lot* of raw text data, and you will have to edit multiple values to get a noticeable result. This is also a much more inexact science, compared to the audio filters from before.

I would suggest going to the trouble of having HxD save to a new file for output, as you're going to be using the clipboard for these edits and there's no easy way to revert. One neat feature is if you right-click in the data column and select fill, you can fill a selection with random bytes, etc. Unsurprisingly, this will mostly look like noise in the final image. One last point is that the image is stored from top-left to bottom-right, so editing the top of the file will edit the upper portion of the image.
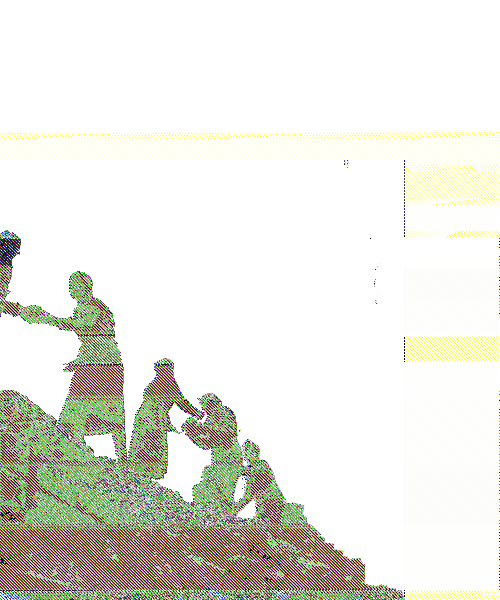
Here's an example of cutting and pasting a few blocks of values:
If you're willing to put in additional effort, it can be worth exporting multiple RAWs for each channel and mixing them individually, but that's more complex than is relevant here. One of the major advantages of hard-editing is that you can add in any other data you can translate to text; copying snippets of wikipedia pages, etc, is a great way to throw in arcane data. Note that you have no idea how this will end up looking, and only experience can teach you what will and won't work.
5. Summary
Many of the same disclaimers from the previous blogpost apply, but there's a few things to note about databending in particular. If you're willing to experiment with opening the RAWs with different dimensions/channels than you began with, you can further expand on results. Some things only show up when you break it a little more.
If you get to be more interested in glitching, I'd recommend experimenting with batch-processing to handle much more material without carpal tunnel. Both PS and GoldWave have support for batch processing, and if you're tech-savvy there's options for almost any kind of editing.
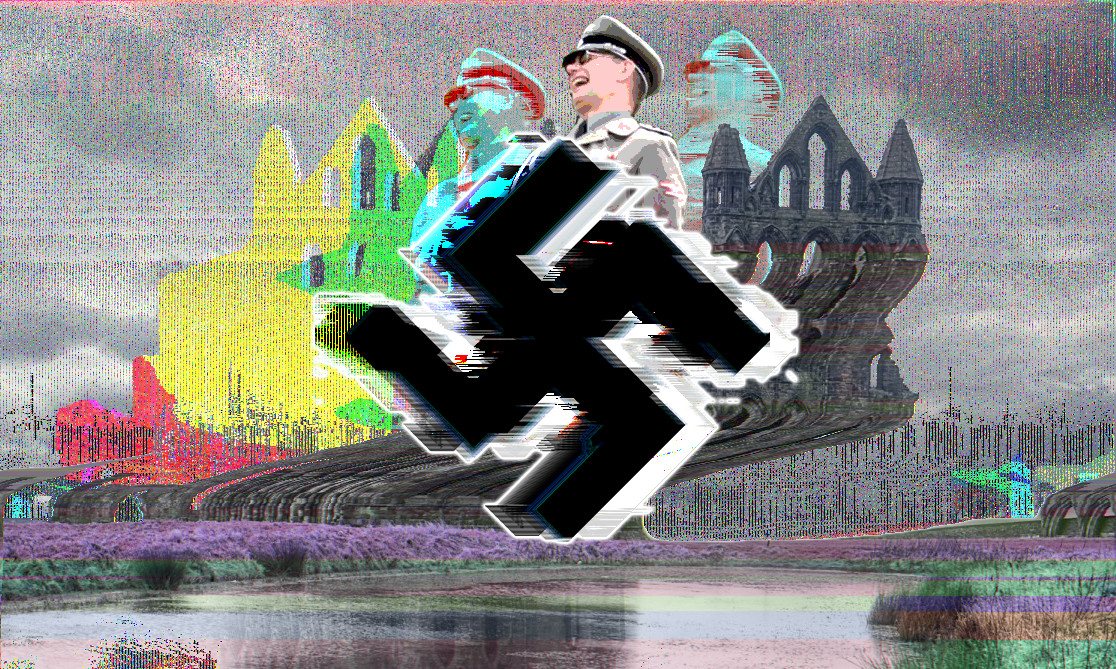
All that said, here's how I ended up using some of these databent assets for a final composition, layering like with like and using blending options:
[Index]